Step 1: The Book
One of the reasons I love this lesson so much is that it gives me a good reason to read The Day the Crayons Quit. Drew Daywalt's story about crayons fed up with their working conditions is full of clever jokes, groan inducing puns, and very colorful characters (literally). It's also broken up into sections based on the character speaking, so it's perfect for reading in chunks. I cannot recommend it enough!
Step 2: The Lines
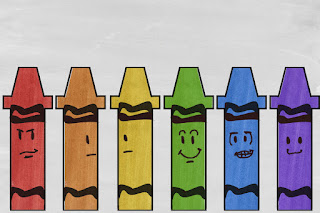
Next, students will draw six crayon outlines on a piece of 12" X 18" paper. I give them a tracer for this and instruct them to start way at the left of the paper so that each crayon fits. (Yes, I know, tracers can be a divisive issue in art education...I'm not a huge fan of tracers and I don't often use them, but I feel like it's okay for this project because the goal here is to learn color mixing, not drawing).
(This is the actual tracer that I use. It's perfectly sized for 12" X 18" paper.)
Step 3: Primary Colors
Once students have neatly traced their crayons it's time to paint primaries! Have students paint their red, yellow, and blue crayons in the appropriate spaces.
Step 4: Secondary Colors
Once primary colors have been painted it's time for the real fun! Students will begin to mix and paint the orange, green, and purple crayon. I like to leave a color mixing anchor chart on my easel and have students reference it. They really learn when they experiment on their own or with a classmate.
Step 5: Personality!
The following art class will have students adding their original details. Encourage creativity! Students can add faces but I don't require it if they don't want to. I do, however, mandate that students use black to make their shapes look more like a crayon.
Faces can be fun!


No comments:
Post a Comment